
Are you excited about launching your Virtual Assistant website but unsure about where to start? Don’t worry, I’ve got your back! I’ve been there, done that, and I’m here to walk you through it. So, let’s roll up our sleeves and dive in!
Do you need a Virtual Assistant website?
First off, let’s chat about WHY you need a website. Sure, you might be rocking it on Facebook or Instagram, but a website is more than just being online. It’s about showing your tech skills, personalizing your brand, and stepping up as a professional.
Think about it – your own website sets you apart in the VA world. It tells potential clients you’re serious and skilled. Plus, tweaking websites? That’s a skill clients love!
Here are just a few reasons on why you need to have a website:
- Having your own virtual assistant website shows that you have technical competencies. Did you know that there is a growing trend for entrepreneurs looking for “virtual assistant for website“? Look at the trend chart below. I am not saying you need to become a web designer, but you should be familiar enough to support your clients’ websites and perform basic tasks such as uploading new content. And having your own website is the best way to demonstrate it.
- You can present yourself the way you want without any constraints. Your website is your own canvas, and you are in complete ownership of it, so paint it with the colors you want, inject it with your personality, and build an image that reflects you and aligns with your professional goals. Compared to social media, having a website offers a smoother experience when it comes to aggregating all the information about you and the content and projects you do.
- Lastly, having your own website indicates that you are a PROFESSIONAL. You are dead serious about your business and have put effort and energy into building it. More people will find your website organically, and you can charge premium rates.
Year-Long Google Trends Analysis for ‘Virtual Assistants for Websites
So now that we’ve discussed why you need a website for your VA business, let’s walk you through the steps to create one.
Step 1: Choose your domain
The domain is the URL that people will type in when they’re looking for your website. When trying to figure out your domain name, you’re going to come into contact with a lot of different options. The most popular among the extension options are .com, .co, or your local country extension (e.g., co.uk if you are from the UK). Among these three, .com is the most popular because it’s the easiest to remember. So that should be your number one choice when figuring out what domain works best for you.
When it comes to thinking about your domain as a VA, two obvious choices come up – having your name or a made-up word that represents your business. Including words like VA, virtual assistant, etc., will help Google better understand what your website is about. But knowing that we all grow and evolve, it is possible that you may grow in a different direction than a VA in the future. So you may need to keep that in mind and go with a more conservative option like your name.
You can either purchase your domain directly through your hosting platform or a third-party website like namecheap.com and Godaddy.com. The most important thing to remember when purchasing a domain is to invest in an information protection service so that your phone and email will not be flooded with spam.
Step 2: Select your platform and hosting provider
Now that you have selected a domain, the next natural thing is to decide how you will build your website. There are many different places where you can build your website, but the most popular are WordPress, Wix, Squarespace, and Showit.
I am not going into detail about these platforms, but If you are keen on diving deep, you can read this earlier post where I compare the main website platforms. I recommend WordPress over any other platform. WordPress.org is open source, so it is free to use, build, and edit on and is used by over 65% of websites. You have all the flexibility in the world, so your website can grow in any direction without constraints. While it is possible to change a website platform, it could get quite complicated depending on the number of pages you have.
The only thing you really need to pay when creating a WordPress website is a hosting service. A hosting service stores all the data on your website, like the coding, images, text files, so that your website can be online. While Siteground is a popular option, I recommend A2 hosting for a pleasant experience and super-fast load times. If you are based in Europe, I also recommend Mr Domain.
Step 3: Create a sitemap and a call to action for every page
A sitemap is a list of pages on your website. It’s a tool that you can use for planning your site. Other than the homepage, you’re going to need to figure out how many pages your website is going to need.
And then, when you come up with each page of your website, you’ll need to determine the call to action for each page. You will have a primary call to action for your site, and then you need to come up with a call to action for every page. The biggest mistake I’ve found when looking at other people’s websites is failing to consider what call-to-action their visitors need to take on each page. And some pages of websites don’t even have a call to action – those pages are called dead ends.
You need to tell your visitors what you want them to do and guide them through your website. You can’t expect people to read your mind and figure out the logical progression that you want them to take throughout your website. And if you aren’t leading them to another page of your website or telling them where to go next, they will most likely exit your website.
For example, let’s take your about page first. If your primary call to action is “work with me” and you want people to book your services, then you may want to link to your portfolio from your “about” page and share some of your favorite or recent projects. From your portfolio page, if someone looks at your recent work, the next logical step would be to send them to your services page so they can see what you offer and the details of your services. Then, at the end of your services page, the most likely next step would be to contact you to book your services. By following this logical progression, you can guide visitors through your website. So start to think about this for each page of your website, come up with a call to action, and a logical next step that you want them to take.
Step 4: Branding your VA website
Branding is a fun and creative aspect of designing and building a website, as it lets you inject your personality into your site. Branding encompasses various elements, but in this post, we’ll focus on the most relevant ones: fonts, colors, and images.
Fonts:
You will need to keep your font variation to a maximum of three fonts. A font for your headings, for body copy, and an accent font. Your font choice needs to represent your brand personality in order for your website to look spot-on. Just be careful when it comes to selecting the headings and especially the body copy font – it needs to be legible as that’s the font you will be using the most on your website. You will also need the accent font, which is normally used for client testimonials, emphasizing some words there. Usually, you can use a hand-drawn script or display font as your accent font. I absolutely love Nick’s guide on helping you select a font based on psychology.
Tip: I totally recommend looking into Google’s fonts library. They are free and usually load faster than other fonts.
Colors:
This is easily one of the most memorable and impactful parts of your brand and your website. What you’re trying to convey will determine which colors you should use. Just like your fonts, the colors will have a specific usage and placement on your website.
- Primary Color: The one you want people to associate you with and that should be used the most. Can be used for CTA buttons, headlines, icons, download forms,
- Secondary Color is used to highlight the less critical information, such as subheadings, highlighting selected text, progress bars, testimonials, secondary buttons, and FAQs.
- Neutral Color will most likely use for text and background but particularly in colorful sections of the site to help tone it down and refocus the eye
Tip: Feeling stuck when finding a color palette? Check out my favorite website for color inspiration.
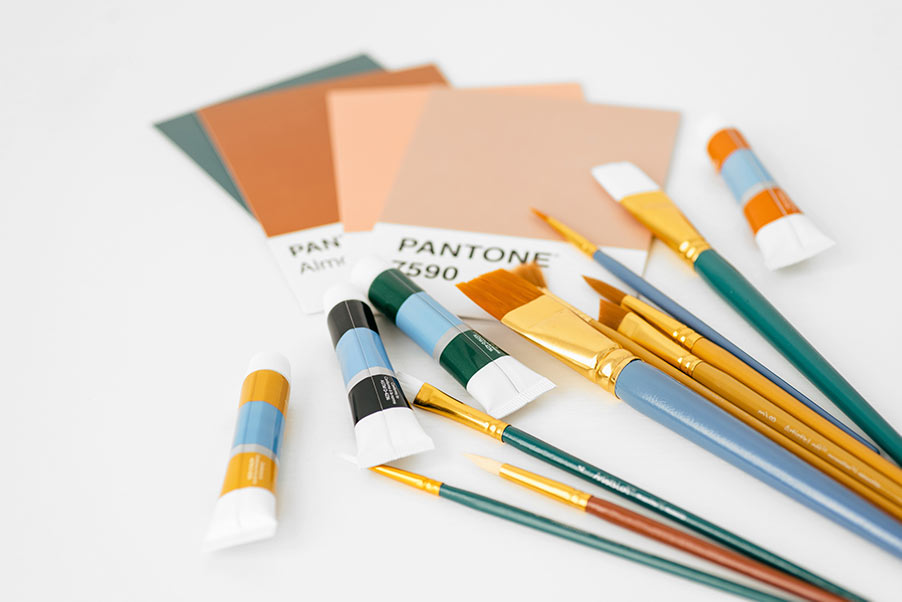
Images: Choose images that match your color palette, whether they are light and colorful, rich and intense, or cooler and more relaxed. Consistency is key, so use photos taken by a photographer or from a niche stock website with a similar style. Alternatively, apply a filter to maintain a cohesive look throughout your website.
Step 5: Outline the content on each page
That’s the part most of my clients struggle with. To better help you with this part, ask yourself these questions:
- What’s the call-to-action for each page and what do your clients expect to find? How can you get there?
- What keyword can you potentially use to rank for each of the pages? Make sure it’s included in H1 and meta description
- How can I help my clients even more? Chunking text in different sections, outlining components
- How can you inject your content with your personality? Putting some personal information on the about page, personal photos
Tip: Ashlyn wrote a fantastic website copy template with lots of information, ideas, and examples to help you get started. You can find the freebie here.
Step 6: Let’s put things together and design your dream website
Now that you have a plan on how to create an effective website strategy it’s time to get into the design part. You can either buy a premium theme from Themeforest or build the website yourself with a page builder like Elementor.
In the upcoming post on virtual assistant websites, we’ll explore the best practices and tools for building your own website. In the meantime, keep in mind the importance of user experience, branding, and optimization. Your website is often the first impression people have of your virtual assistant business, so it’s important to make it count. Remember to keep your design simple, and easy.